A Comprehensive Guide to Facebook Pixel Setup for Effective Marketing
Introduction
In the ever-evolving world of digital marketing, understanding your audience is key. That’s where Facebook Pixel comes in. This powerful tool allows you to track user behavior on your website and optimize your advertising efforts. By setting up Facebook Pixel correctly, you can enhance your ad targeting, measure campaign success, and gain valuable insights into customer preferences. Let’s dive deeper into what Facebook Pixel is and how it can transform your marketing strategy.
What is Facebook Pixel?
Facebook Pixel is a piece of code that you place on your website to collect data about visitors’ actions. Its primary purpose is to help you understand how users interact with your site after viewing or clicking on an ad.
When someone visits your website and takes an action (like making a purchase), the pixel tracks this activity and sends the information back to Facebook. This tracking enables you to create targeted ads based on user behavior, ensuring that you’re reaching the right audience with relevant content.
Benefits of Using Facebook Pixel
Using Facebook Pixel offers several advantages for marketers:
- Enhancing Ad Targeting: With pixel data, you can create custom audiences based on specific actions taken on your site. This means you can retarget users who showed interest but didn’t convert.
- Measuring Campaign Effectiveness: The pixel helps track conversions from ads, allowing you to see which campaigns are driving sales or leads effectively.
- Improving Customer Insights: By analyzing the data collected through the pixel, you gain a better understanding of customer preferences and behaviors, helping refine future marketing strategies.
These benefits make Facebook Pixel an essential tool for anyone looking to improve their online marketing efforts.
Step-by-Step Guide to Setting Up Facebook Pixel
Setting up Facebook Pixel involves several steps:
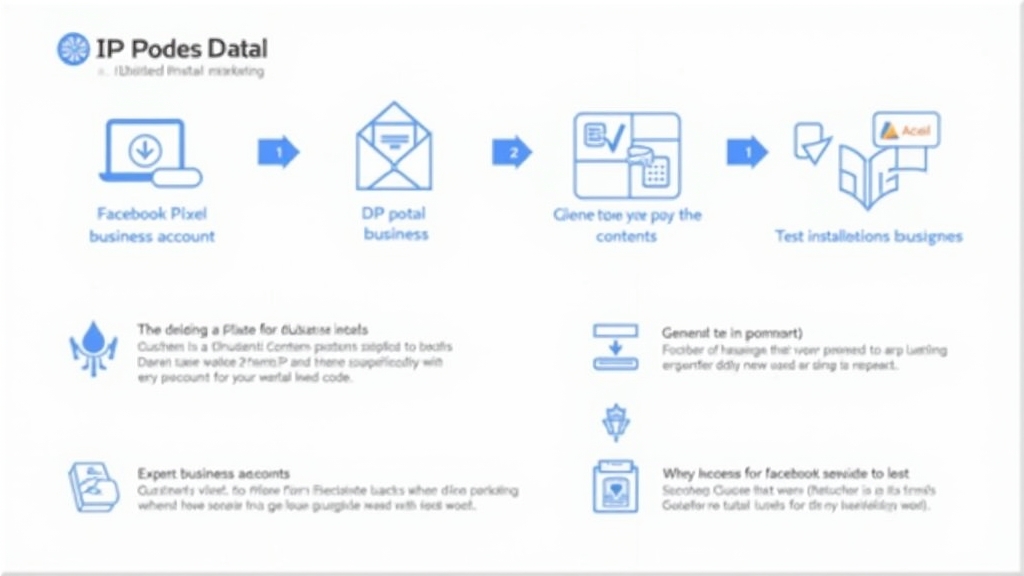
Creating a Facebook Business Account
First, ensure that you have a Facebook Business account. If not, visit business.facebook.com and follow the prompts to create one.
Accessing Events Manager
Once logged in, navigate to Events Manager from the main menu. Here you’ll manage all pixels associated with your business account.
Generating Your Pixel Code
Click on “Add” under Data Sources and select “Facebook Pixel.” Follow the instructions provided; this will generate a unique pixel code for your website.
Installing the Pixel on Your Website
Now it’s time to add this code snippet into your website’s header section.
For WordPress Users
If you’re using WordPress, install a plugin like “Insert Headers and Footers.” Paste the pixel code into the header section as instructed by the plugin documentation.
For Shopify Users
For Shopify stores, go to Online Store > Preferences in your admin panel. Find “Facebook Pixels” and paste in your pixel ID directly there.
Testing Your Facebook Pixel Implementation
After installation, it’s crucial to verify that everything works correctly:
- Tools for Verifying Functionality: Use the “Facebook Pixel Helper” Chrome extension; it checks if pixels are firing properly when visiting pages.
- Common Troubleshooting Tips: If issues arise:
- Ensure you’ve pasted the correct code in all required areas.
- Clear browser cache or try another browser if problems persist.
- Check if any plugins might be interfering with script execution.
Testing ensures accurate tracking so that all collected data reflects real user interactions accurately.
Best Practices for Utilizing Facebook Pixel
To maximize effectiveness when using Facebook Pixel:
- Leveraging Custom Audiences: Create segments based on specific behaviors—like those who added items but didn’t purchase—to target them with tailored ads.
- Analyzing Data: Regularly review performance metrics within Ads Manager. Adjust campaigns based on insights gained from pixel data—this could involve changing ad creatives or targeting strategies based on what works best.
Implementing these practices will enhance overall ad performance significantly over time!
Integrating Facebook Pixel with Other Marketing Tools
To further boost effectiveness:
- Connecting with Google Analytics: Syncing these tools provides comprehensive insights about both traffic sources (Google) and conversion events (Facebook).
- Using CRM Systems Alongside Your Data: Integrate CRM platforms like HubSpot or Salesforce with pixel data for enhanced customer relationship management—this helps tailor communications more effectively based upon user behavior tracked via pixels!
Combining these resources strengthens marketing efforts across multiple channels while providing richer insights into customer journeys!
Conclusion
Setting up and utilizing Facebook Pixel properly is vital for effective digital marketing strategies today! It enhances targeting capabilities while measuring campaign success accurately—leading ultimately toward improved ROI! Don’t overlook its importance; invest time now into mastering this powerful tool!
📢 Explore More: Continue Your Journey!
If this article helped you understand how essential setup is for successful online advertising strategies using social media platforms like FB check out The Ultimate Guide To Retargeting Ads! It covers advanced techniques enabling marketers like yourself leverage existing audiences even further!


![NEEWER 55W 18"/45cm Ring Light Kit [New Version], 5600K Dimmable ...](https://m.media-amazon.com/images/I/414QLqvZWLL._AC_.jpg)


